How to Make A Parachute
What you need:
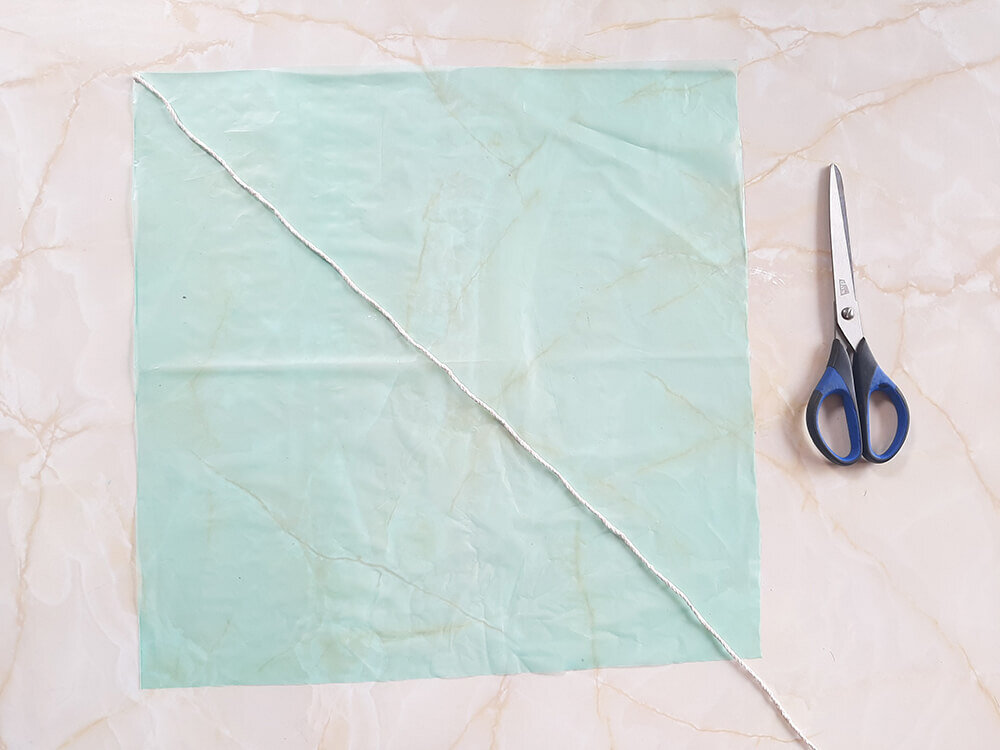
A bin liner
Scissors
Sticky tape
String
A figurine or toy that wants to parachute
Ruler
Did you give it a go?
Did you try making your own parachute? Send us a photo and you’ll go into the draw to win a mystery “Upstart DIYer” prizes.
What to do:
Take the petals off your flowers and put them into the mortar bowl.
Add two teaspoons of hot water to the petals and then crush them with the pestle adding extra water as needed. You are aiming for a similar consistency to thick juice. As a general rule, you will need about a teaspoon of hot water per flower.
You can strain or sieve your paint to get rid of any bits of petal or keep them in for a grainy effect.
Label each pot of paint with the name of the plant you made it from.
Leave your paint to cool, this also allows more of the colours to seep into the water.
How to launch your parachute
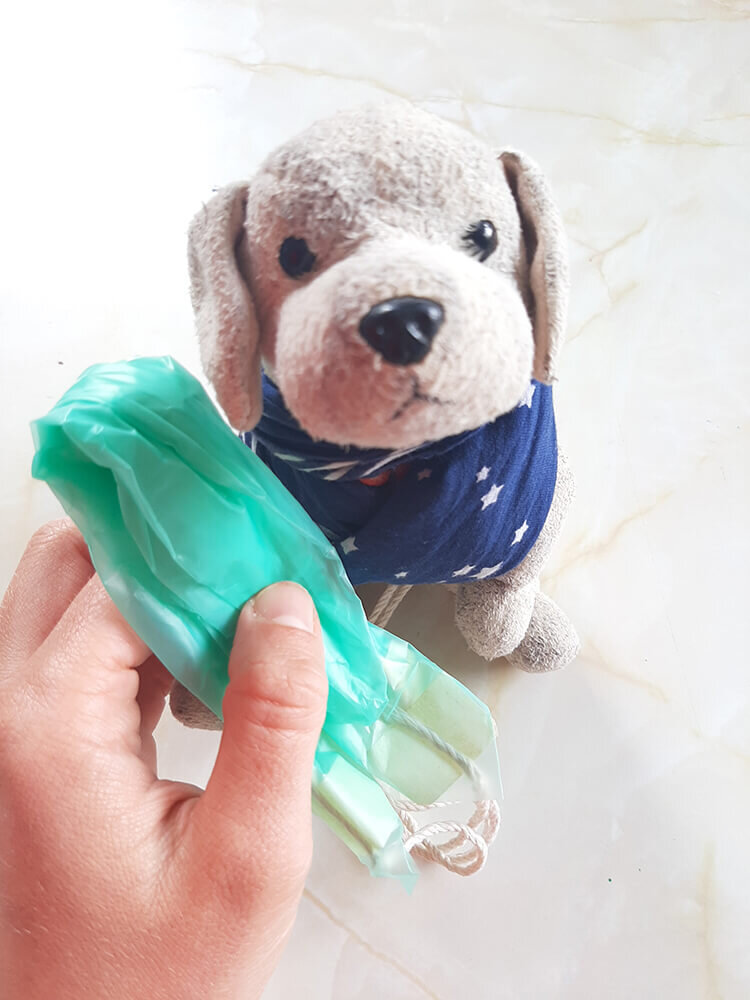
Pull together and fold the bin liner part of your parachute and then loosely wrap the string around the toy.
Throw your toy and parachute as high into the air as you can.
Watch as the parachute opens and then slows the decent of your figurine.
Don’t forget to experiment!
Try this science activity with different sized bags or toys.
WARNING: Go to a big open area to test out your parachute or you may lose toys in trees (we know from experience as we had to rescue Tricks from a low hanging tree).
Happy Parachuting!
What we learnt
The force of gravity pulls the toy and parachute towards the earth. The weight of the toy pulls down on the strings which helps to open up the surface area of your parachute
As the parachute opens it traps air inside it pushing the parachute back up. This creates a ‘drag force’ or ‘air resistance.’ This force is opposite to the force of gravity and slows down the decent as there is both a ‘push’ and ‘pull’ force at work.
The larger the surface area of the parachute the slower the parachute will drop.


